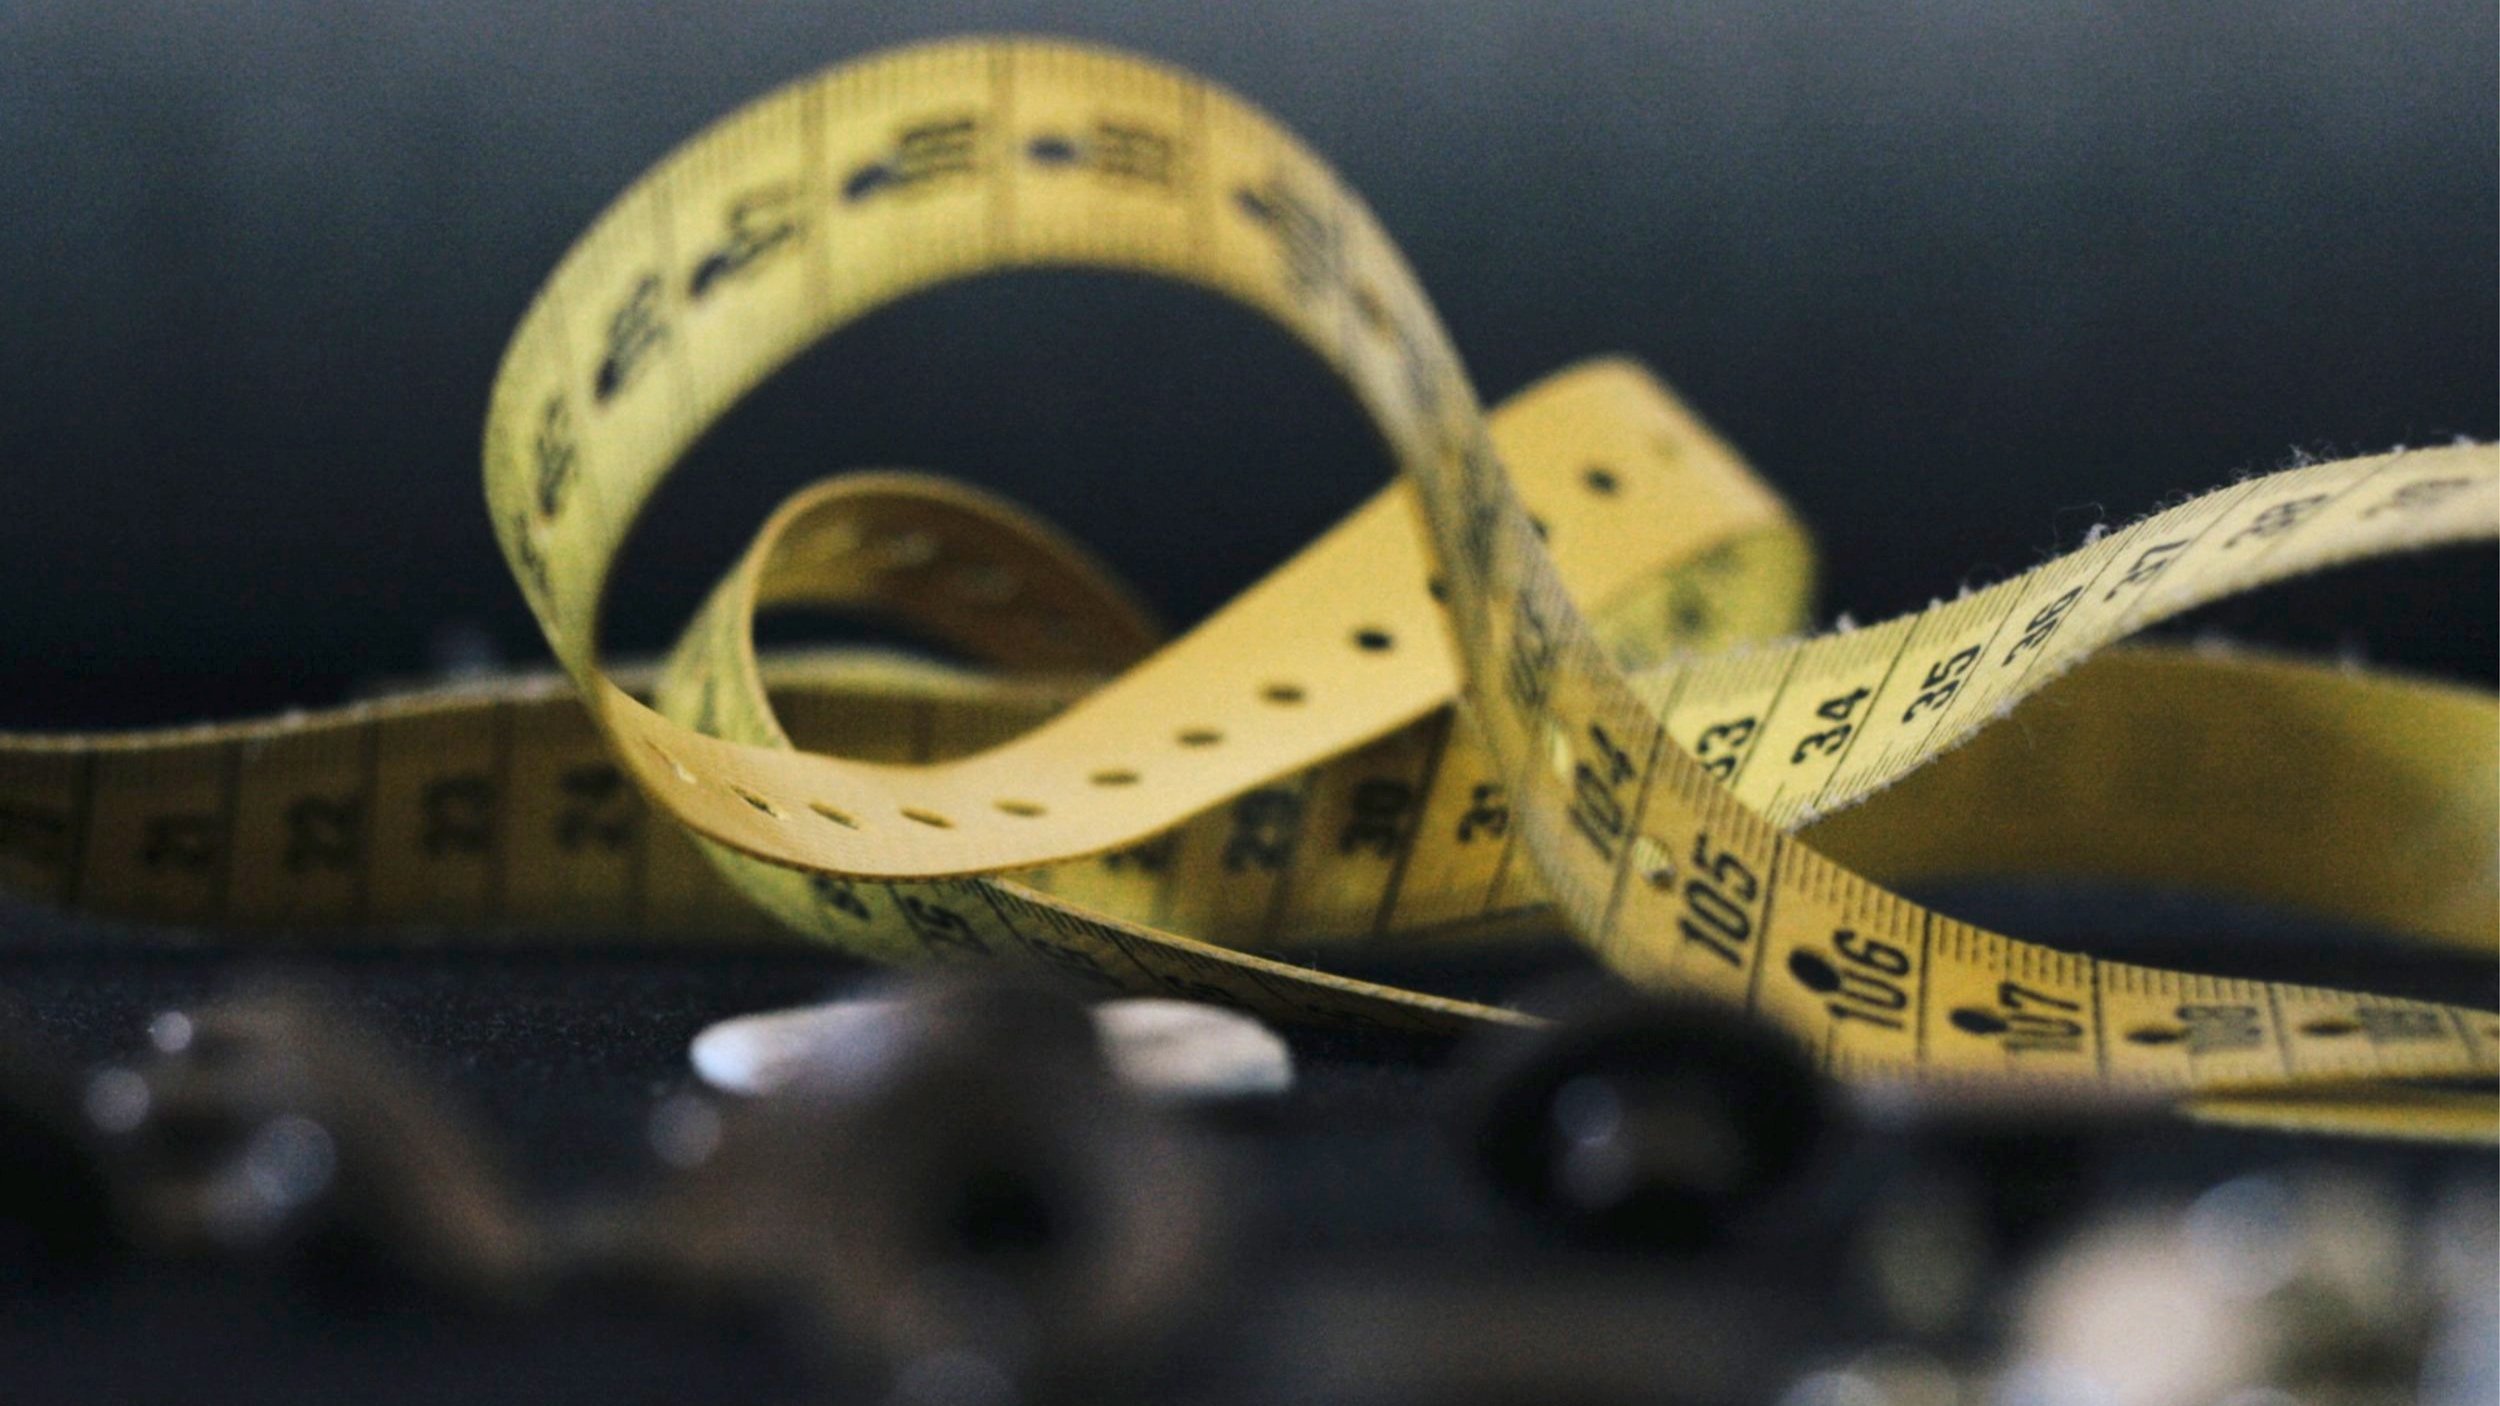
Jeans Making 101: Taking Accurate Measurements for Perfect-Fitting Denim
When it comes to creating your own jeans, there is one fundamental step that cannot be overlooked: taking accurate measurements. The importance of precise measurements cannot be overstated, as they lay the foundation for crafting jeans that fit you like a second skin and provide unparalleled comfort. In this in-depth blog post, we will delve into the art of taking accurate measurements for your jeans, ensuring a flawless fit that will leave you feeling confident and stylish.
From your waist and hips to your inseam and rise, each measurement plays a crucial role in shaping the final outcome of your denim creation. Whether you are a seasoned DIY enthusiast or just starting your journey into the world of jeans making, mastering the skill of accurate measurements is a must.
In this comprehensive guide, we will walk you through a step-by-step process that will demystify the measurement-taking process. With our expert tips and insights, you will gain the knowledge and confidence needed to create jeans that are tailored to your unique body shape and personal style.
Are you ready to embark on this exciting journey of creating perfectly fitting denim? Let's dive in and discover the secrets to achieving a flawless fit through accurate measurements.
Step 1: Measure Your Waist
Begin by measuring your waist. Take a measuring tape and wrap it around your natural waistline, which is the narrowest part of your torso. Ensure that the tape is parallel to the ground and snug, but not overly tight or loose. Record the measurement in either centimetres or inches for reference.
Step 2: Measure Your Hips
Next, measure your hips by wrapping the measuring tape around the fullest part of your hips and buttocks. Again, ensure the tape is parallel to the ground and comfortably snug. Take note of this measurement.
Step 3: Measure Your Inseam
The inseam measurement plays a crucial role in determining the length of your jeans. Start by wearing a well-fitting pair of jeans that are the ideal length for you. Measure from the crotch seam down to the hem. Write down this measurement to determine the desired inseam for your custom-made jeans.
Step 4: Measure Your Rise
The rise measurement refers to the distance from your natural waistline to the crotch seam of your jeans. Begin by measuring from the front of your waistband to the crotch seam, and then measure from the back of the waistband to the crotch seam. Add these two measurements together to obtain your accurate rise measurement.
Step 5: Measure Your Thighs
To ensure a comfortable fit, measure the circumference of your thighs, which is the fullest part of your upper leg. Wrap the measuring tape around one thigh at a time, ensuring it is neither too tight nor too loose. Record this measurement to ensure proper sizing.
Taking accurate measurements is a critical initial step in the jeans-making process. With these precise measurements, you can confidently select the right denim fabric and create a custom pattern that perfectly fits your unique body shape and size. Remember, patience and attention to detail are key during this measurement process.
Taking the time to obtain accurate measurements now will save you from potential setbacks later. So, invest the effort and ensure your jeans will fit flawlessly and provide the utmost comfort.
Stay tuned for our next blog post in the Jeans Making 101 series,
where we'll guide you through the process of choosing the right denim fabric.


